
Home renovations rarely fail because of bad ideas. They fail because of bad sequencing. The order in which work gets done determines whether a finished floor survives the installation of the cabinetry above it, whether fresh drywall holds up after plumbing is roughed in, and whether a new coat of paint ends up covering someone else’s mistakes. Skipping ahead feels efficient in the moment. In practice, it creates rework — and rework in renovation is rarely cheap.
Understanding which phases demand strict sequencing, and why, is the difference between a project that finishes on budget and one that doesn’t.
Structural and Mechanical Work Belongs First — Always
The most expensive sequencing mistake in residential renovation is finishing surfaces before the systems behind them are complete. Electrical, plumbing, and HVAC rough-in work must happen before drywall goes up. That’s not a preference — it’s the only logical order. Closing walls before inspections pass means reopening them, which means damaged drywall, replastering, repainting, and in some cases, refinishing adjacent trim and flooring disturbed in the process.
Working with licensed contractors for structural, electrical, plumbing, and HVAC work can also help ensure that each phase is completed according to applicable building codes and inspection requirements. Experienced professionals can coordinate rough-ins, identify potential problems before walls are closed, and help keep the renovation moving in the correct sequence.
What makes this worse is that inspections aren’t optional on permitted work. Most jurisdictions require a rough-in inspection before any walls are closed. Contractors who skip ahead — either to meet a deadline or because a homeowner is eager to see progress — risk failing inspection and absorbing the cost of exposure and repair entirely out of pocket.
Structural changes carry the same logic. If a load-bearing wall is being removed, that work and its supporting beam installation must be verified before anything cosmetic is layered over it. A beam that’s undersized for the span will deflect over time. By the time the problem becomes visible — cracked drywall, sticking doors, uneven floors — other finishes have already been built around it.
Before starting any renovation involving walls or systems:
- Confirm the full scope of mechanical rough-in work and schedule inspections before drywall delivery
- If removing a wall, have a structural engineer review the beam sizing in writing before framing begins
- Budget a 15-20% contingency for structural surprises, particularly in homes built before 1980 where wiring and plumbing conditions are less predictable
Flooring Timing Is Where Budgets Break
Flooring is frequently installed too early, and the consequences compound quickly. Hardwood and engineered wood floors installed before interior humidity stabilizes — or before heavy trades like countertop installers and cabinet crews have finished — absorb scratches, dents, and moisture damage that require sanding, refinishing, or outright replacement.
The cost difference is significant. Refinishing 400 square feet of prematurely damaged hardwood can run $1,200 to $2,000. Replacing it entirely because the damage is too deep runs two to four times that, not counting the labor to remove cabinets or appliances that are now sitting on top of it.
Tile is less forgiving in a different way. Grout and thin-set must cure fully — typically 24 to 72 hours depending on product and conditions — before foot traffic or the weight of fixtures is introduced. Moving a toilet or vanity onto uncured tile can crack the substrate bond without breaking a single tile visibly. The failure shows up weeks later as loose or hollow-sounding tile that has to be pulled and reset.
The correct sequencing rule: flooring goes in after all overhead and wall work is complete, after cabinetry is installed but before appliances are set, and only after the HVAC system has been running long enough to bring interior humidity to its normal operating range. In most climates, that means at least 48 to 72 hours of conditioning before wood flooring is delivered to the space.
Paint and Finishes Punish Out-of-Order Work
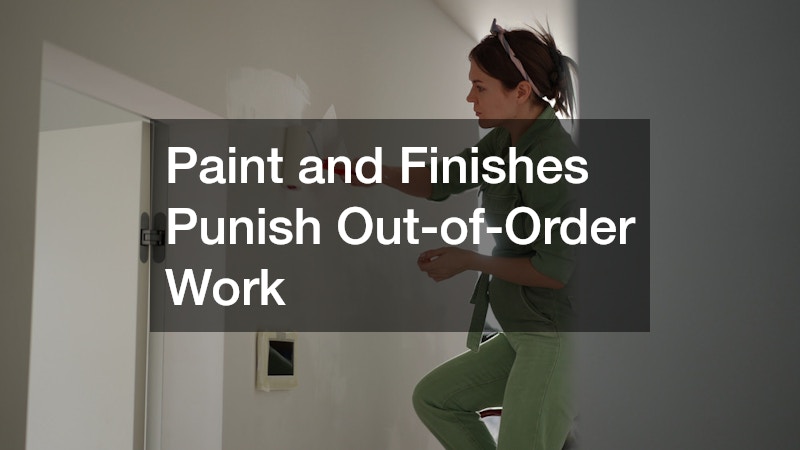
Painting is the phase most often treated as a catch-all final step — and the one most commonly done in the wrong order relative to trim, fixtures, and adjacent materials. The standard professional sequence is ceiling first, walls second, trim last. Reversing any part of that means cutting in over dried paint edges, which creates visible ridges and inconsistent sheen that are nearly impossible to blend without repainting entire surfaces.
The more costly version of this mistake involves painting before finish carpentry is complete. Crown molding and baseboards installed after walls are painted require careful caulking and touch-up work that adds hours of labor. Installed before painting, they can be painted in a single efficient pass. The difference in a medium-sized room is often three to five hours of finish labor — not trivial when contractors bill at $60 to $90 per hour.
There’s also the question of priming. Skipping primer on new drywall or over repaired patches saves perhaps $40 in materials but frequently results in flashing — areas where sheen and color absorb differently through the topcoat, visible in raking light. Fixing it requires a full additional coat across the entire wall, not just the affected spots.
Exterior paint failures follow the same principle at a larger scale. Painting over wood that hasn’t dried to below 15% moisture content — measurable with an inexpensive moisture meter — leads to blistering within a single season. Re-siding or repainting exterior surfaces after that kind of failure costs far more than waiting two to three extra days for proper drying.
- Check moisture content of exterior wood with a pin-type moisture meter before priming; target 12-15% or below
- Apply a dedicated drywall primer on all new or repaired gypsum surfaces before any finish coat
- Install all trim and millwork before scheduling final paint, not after
Permit Sequencing Catches People Off Guard
Permits don’t just create paperwork — they impose a legal sequence on renovation work that has real financial consequences when ignored. Pulling a permit after work is already underway, or not pulling one at all, creates liability that surfaces at the worst possible time: when the home is listed for sale.
Unpermitted work discovered during a buyer’s inspection either has to be disclosed, retrofitted to current code, or reflected in a price reduction. In most markets, unpermitted additions or electrical work trigger buyer requests for remediation rather than simple credit. That means reopening finished walls to allow inspection — labor and materials already paid for once now paid for twice.
Some trades genuinely require a stricter sequence to permit correctly. Electrical panels, for instance, often need to be upgraded before new circuits can be added, and that panel upgrade requires its own permit and inspection before downstream work can legally proceed. Homeowners who discover this mid-project after framing is closed have limited options, none of them inexpensive.
Services that seem unrelated to construction — wildlife control and removal, for example, or pest remediation — sometimes need to happen before insulation or wall closure in older homes where infestations affect framing. Skipping them to stay on schedule means reopening walls later, which is far more disruptive.
- Pull permits before any work begins, not after — retroactive permits cost 25-50% more in filing fees in most jurisdictions and sometimes require third-party inspectors
- Ask the permit office for a required inspection sequence in writing before scheduling contractors
- Confirm that all sub-permit work (panel upgrades, structural changes) is closed out before scheduling finish trades
Planning the Order Before Pricing the Work
The sequencing decisions made before a project begins determine the budget as much as material costs do. Getting the order right the first time is not just an operational preference — it’s a financial protection strategy. Work completed out of sequence gets undone, and undoing finished work in renovation rarely costs less than doing it correctly the first time.
Before signing any contract, map the full project scope against a phase sequence: structural and mechanical rough-in, inspections, insulation and drywall, flooring conditioning, cabinetry, finish flooring, paint, trim, then fixtures and appliances. Any contractor who proposes a sequence that diverges significantly from that logic deserves a specific explanation before work begins, not after.