

It is easy to look at a newly paved surface—smooth, dark, and pristine, or bright, rigid, and clean—and assume it is a permanent fixture of your property. Pavement projects represent a significant financial investment, and the illusion of their invincibility is shattered only when the first jagged crack appears or a corner begins to crumble. The harsh reality of property ownership is that the very ground we drive, park, and walk on is under constant siege. From the sheer weight of multi-ton vehicles to the invisible, destructive forces of ultraviolet radiation, chemical spills, and relentless water intrusion, paved surfaces face an unending battle against the elements.
The hidden costs of neglecting these surfaces can be staggering. What begins as a microscopic fissure, easily ignored during a busy week, can rapidly evolve into a gaping pothole requiring expensive excavation. The needs of a residential property and a commercial space may differ in scale—a family home endures the daily backing out of an SUV, while a commercial space must withstand the punishing repetition of delivery trucks, employee vehicles, and heavy-duty sanitation equipment—but the fundamental rules of preservation remain exactly the same.
Proactive maintenance, timely repairs, and a deep understanding of the materials you are dealing with are the true keys to extending the lifespan of any paved surface. Shifting your mindset from reactive patching to preventative care can literally save you thousands, if not tens of thousands, of dollars over the lifetime of the pavement. This comprehensive guide will serve as your roadmap to surface preservation, walking you through seasonal preparation, material-specific care, and safety optimization to ensure your investment stands the test of time.
Perform a Deep Surface Inspection Twice a Year
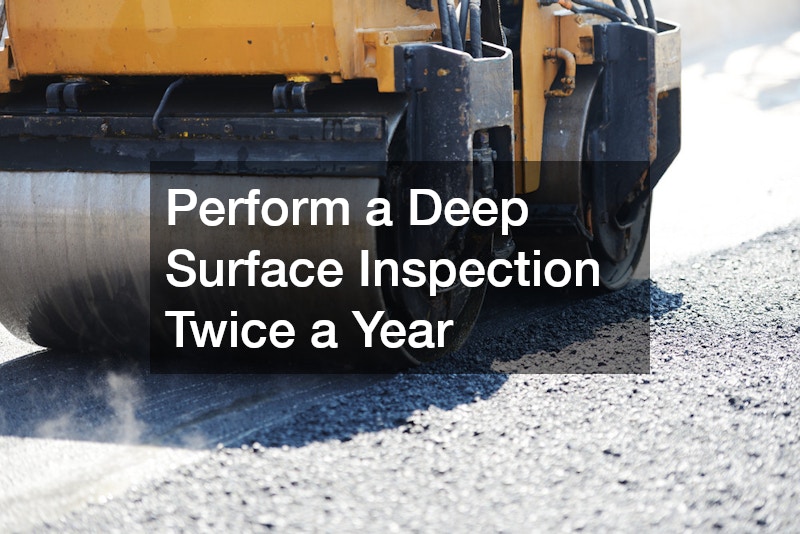
Regular, systematic audits are the absolute foundation of pavement longevity. You cannot protect what you do not understand, and waiting for massive structural failures to become obvious from the street is a guaranteed way to drain your maintenance budget. Acting as your own property inspector at least twice a year—ideally in the spring after the snow has melted and in the fall before the freezing temperatures arrive—gives you the upper hand against deterioration.
Map Out Cracks and Drainage Issues After Heavy Rain
Water is the universal solvent and the undisputed arch-enemy of any paved surface. While dry days are more pleasant for property walks, the most revealing time to inspect your pavement is during or immediately following a heavy downpour. This allows you to witness the actual hydrodynamic behavior of your property.
-
Observe the Flow: Watch how the water travels. It should sheet off the surface toward designated drainage zones, gutters, or natural landscaping.
-
Identify Pooling: Make a note of any areas where water forms puddles that take more than a few hours to evaporate. Standing water slowly degrades the surface binders and eventually forces its way into the microscopic pores of the material.
-
Measure Fissures: Keep a tape measure handy. Hairline cracks (under a quarter of an inch) are generally manageable with do-it-yourself rubberized fillers. However, if you are looking at fissures that exceed half an inch in width or depth, this goes beyond simple surface wear. It is highly recommended that you reach out to professional driveway contractors for structural assessment, as these larger voids allow massive amounts of water to bypass the protective layer entirely.
-
Check the Edges: Look closely at where the pavement meets the soil. Water should not be trapped along the borders, as this leads to edge erosion and undercutting of the foundational layers.
Identify Sub-Base Failures Early
The visible surface of your pavement is merely the roof of a much more complex structure. Beneath the smooth exterior lies a carefully engineered sub-base, typically consisting of compacted crushed stone and gravel, designed to bear the heavy loads. When the sub-base fails, the surface has no support, leading to catastrophic damage.
-
Spotting “Alligator Cracking”: Look for clusters of interconnected cracks that resemble the scaly hide of an alligator or crocodile. This specific pattern is almost never a simple surface defect; it is the universal sign of sub-base failure or severe structural fatigue.
-
Detecting Depressions and Rutting: Notice any areas that have sunk, creating shallow bowls or tire ruts. This indicates that the gravel foundation beneath the surface has shifted, washed away, or was improperly compacted during installation.
-
Actionable Decisions: Minor, isolated issues can sometimes be cut out and patched. However, widespread sub-base failure requires full excavation. Establishing a strong, communicative relationship with reputable local paving contractors can help property owners secure honest evaluations of foundational damage before committing to expensive overlays that will inevitably fail again due to the lack of underlying support.
Master the Art of Asphalt Upkeep
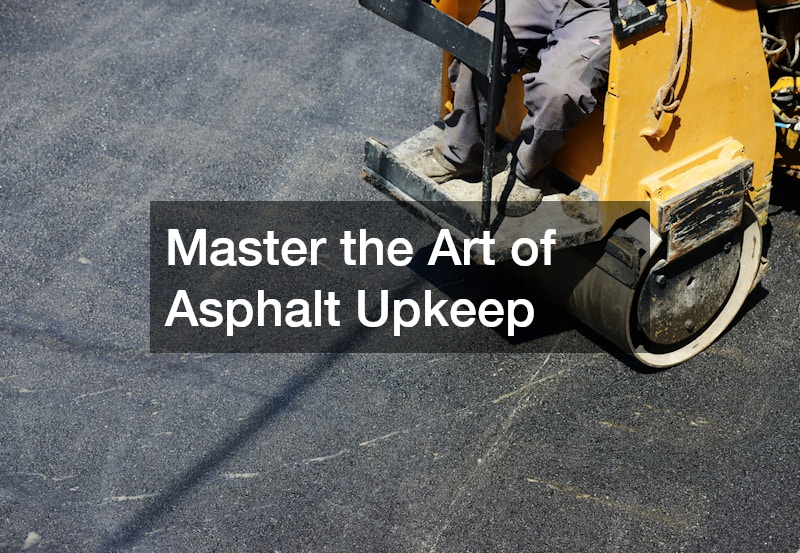
Asphalt is an incredibly popular paving material because of its flexibility, cost-effectiveness, and smooth finish. However, that flexibility comes from its bituminous binder—a petroleum-based product that is highly susceptible to oxidation from the sun and chemical degradation from automotive fluids. Preserving asphalt requires specific, targeted steps to maintain its elasticity and structural strength.
Clean Oil and Chemical Spills Immediately
Because asphalt is fundamentally a petroleum product, it obeys the chemical rule of “like dissolves like.” When automotive fluids leak onto an asphalt surface, they do not just sit on top; they actively melt the binders holding the aggregate (rock and sand) together.
-
The Chemical Threat: Motor oil, transmission fluid, gasoline, and antifreeze will rapidly soften asphalt. If left untreated, what was once a solid surface will turn into a mushy, crumbly mess that a shoe can easily scuff away.
-
Immediate Mitigation: As soon as a spill is noticed, cover it generously with an absorbent material. Cheap, non-clumping clay cat litter, sawdust, or specialized spill absorbents work best. Grind the material into the stain with the sole of an old shoe and let it sit for at least 24 hours to draw out the liquid.
-
Deep Cleaning: Sweep away the saturated absorbent. Apply a heavy-duty commercial degreaser or a paste made of Trisodium Phosphate (TSP) and water. Scrub vigorously with a stiff-bristled push broom, then rinse thoroughly with a high-pressure hose.
-
When to Call for Help: If a spill has gone unnoticed for months and the asphalt has become soft or rutted, cleaning will no longer suffice. This level of severe chemical erosion often requires patching by an experienced asphalt company to cut out the “dead” material and restore the structural integrity of the affected zone.
Fill Hairline Cracks Before They Expand
The most predictable and destructive force in cold-weather climates is the freeze-thaw cycle. Asphalt naturally expands in the heat and contracts in the cold, which eventually creates hairline thermal cracks.
-
The Freeze-Thaw Danger: When rain or melted snow seeps into a hairline crack, it waits for the temperature to drop. When water freezes, it expands by roughly nine percent. This immense hydraulic pressure forces the crack wider. The ice melts, more water fills the now-larger void, and the next freeze breaks apart even more pavement. Over a single harsh winter, a tiny fissure can become a massive, tire-damaging pothole.
-
Preparation is Key: Before filling any crack, it must be completely clean and dry. Use a stiff wire brush or a specialized routing tool to scrape out dirt, weeds, and loose aggregate. Follow up with a leaf blower or air compressor to blast out the remaining dust.
-
Choosing the Filler: For DIY applications, cold-pour rubberized liquid fillers are suitable for cracks up to half an inch wide. However, these often have a shorter lifespan and require frequent reapplications. For a truly permanent fix, an asphalt paving contractor uses specialized hot-pour rubberized materials heated in a specialized kettle; this method offers superior, longer-lasting adhesion that stretches and flexes with the pavement throughout the seasons.
Fortify Concrete Against Scaling and Spalling
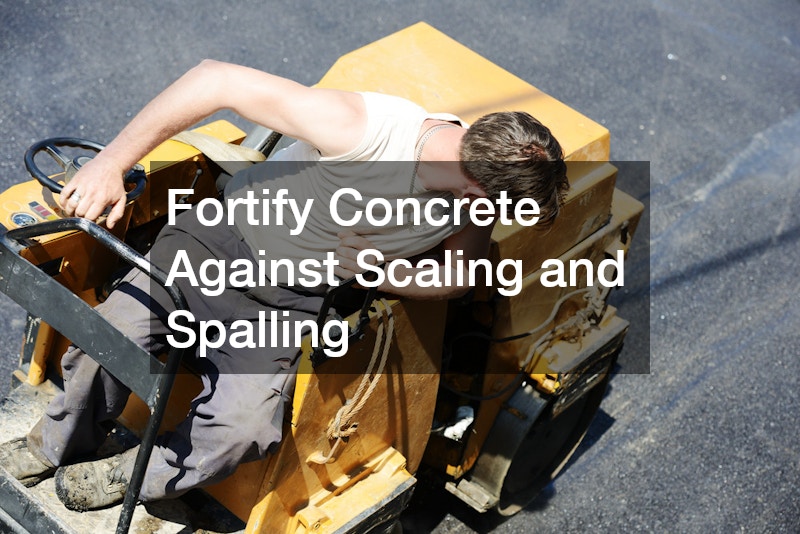
Concrete offers unparalleled rigidity and longevity, making it the material of choice for heavy load-bearing areas and pristine architectural designs. While it does not suffer from the same chemical melting that plagues asphalt, it is incredibly porous and highly vulnerable to internal moisture expansion and the corrosive effects of salt. Preserving a concrete slab means managing its microscopic pores.
Avoid De-Icing Salts During the First Winter
The biggest misconception about concrete is that it simply “dries” after being poured. In reality, concrete undergoes a complex chemical reaction called hydration. While it may be hard enough to walk on in a day and drive on in a week, the internal curing process takes a full 28 days to reach its design strength, and it continues to harden microscopically for years.
-
The Danger of Sodium Chloride: Rock salt and standard de-icers work by lowering the freezing point of water. While this melts the ice on the surface, it creates a briny slush that gets absorbed into the porous, newly poured concrete. When the temperature plummets again, this brine freezes inside the slab. The resulting expansion causes the top layer of the concrete to literally pop off—a highly destructive process known as scaling or spalling.
-
Protecting New Slabs: During the very first winter of a new slab’s life, never use salt. If traction is needed, use plain playground sand, kitty litter, or finely crushed gravel.
-
Safe Alternatives: If ice melting is absolutely necessary on older slabs, opt for less chemically aggressive alternatives like Calcium Magnesium Acetate (CMA), which does not chemically attack the cement paste. Always consider consulting the original concrete driveway contractor regarding the specific mix used on your property, as they can provide precise guidance on when the surface will be fully cured enough to handle chemical de-icers safely.
Apply Penetrating Silane-Siloxane Sealers
To truly protect a concrete surface from the inside out, you must address its porosity. Water, salt, and automotive fluids need a pathway into the slab to cause damage; sealing the slab blocks that pathway.
-
Topical vs. Penetrating Sealers: Topical acrylic or epoxy sealers sit on the surface, creating a glossy film. While they look nice, they can be slippery when wet and eventually wear away under tire friction. Penetrating sealers, specifically silane-siloxane blends, soak deep into the capillaries of the concrete. They undergo a chemical reaction with the alkaline materials inside the slab to create a hydrophobic (water-repellent) barrier that does not alter the surface appearance or traction.
-
Application Timelines: A high-quality penetrating sealer should be applied once the concrete is fully cured (at least 30 days old) and re-applied every three to five years depending on traffic and weather exposure.
-
The Process: The surface must be immaculately clean, completely dry, and free of any prior topical sealers. For massive commercial lots or extraordinarily long residential approaches, this process can be daunting. Large-scale applications might require the specialized equipment of professional concrete contractors to ensure even, uninterrupted coverage without puddling or over-saturation, which can leave a white, cloudy residue.
Shield Your Surfaces from Extreme Weather
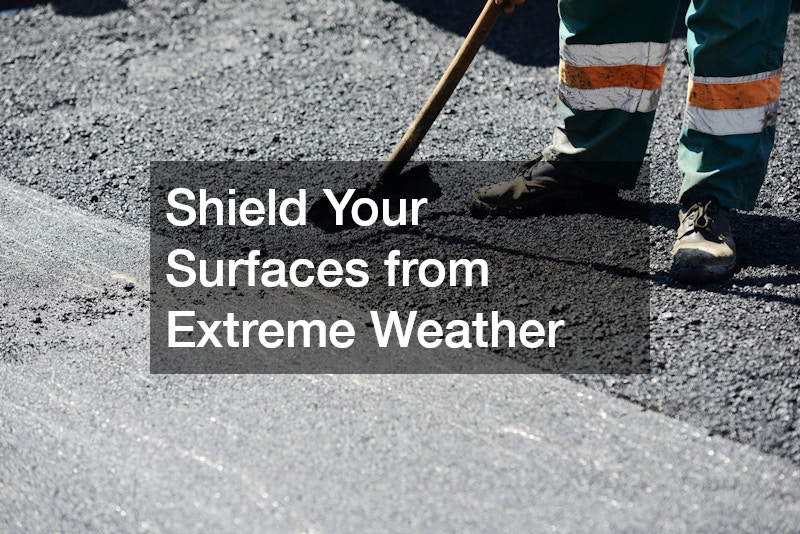
Environmental elements are a pavement’s most relentless enemies. The sun’s ultraviolet rays dry out flexible binders, rain washes away structural support, and ice shatters solid rock. Defending your property requires seasonal strategies and a keen awareness of how the environment interacts with your specific terrain.
Schedule Surface Treatments During Optimal Temperatures
Applying protective coatings, sealants, or hot-pour crack fillers is heavily dependent on weather conditions. Doing this work at the wrong time of year or under the wrong atmospheric conditions guarantees premature failure of the materials.
-
The Temperature Window: Most liquid pavement treatments require ambient and surface temperatures to be steadily above 50°F (10°C) and rising. If the surface is too cold, the emulsions will not cure properly, leading to peeling, tracking onto floors, or simply washing away in the next rain.
-
Managing Humidity and Dew: High humidity vastly extends curing times. Furthermore, applying materials late in the afternoon when dew is likely to settle on the uncured surface can ruin the chemical bonding process.
-
The Sunscreen Analogy: Just as human skin requires protection from UV radiation, blacktop requires a shield against the sun to prevent it from turning brittle and gray. Proactively scheduling professional sealcoating services before the harsh summer sun oxidizes the pavement acts as a vital “sunscreen,” locking in the essential oils and keeping the surface dark, flexible, and resilient.
Improve Edge Drainage to Prevent Frost Heave
Water does not only attack pavement from the top down; it is equally destructive when it attacks from the sides and the bottom. Edge maintenance is often overlooked until the borders of the pavement begin to crumble into the lawn.
-
The Mechanics of Frost Heave: When water is allowed to pool in the soil immediately adjacent to the pavement, it can be drawn underneath the slab through capillary action. When winter hits, ice lenses form in the saturated soil, expanding upward with incredible force. This lifts the pavement, cracking it. When the ice melts in the spring, a void is left behind, causing the pavement to collapse under the next heavy vehicle.
-
Landscaping Solutions: To combat this, ensure the soil adjacent to the pavement drops away at a grade of at least a quarter-inch per foot. If natural grading is impossible, consider installing a French drain system parallel to the pavement edge to capture and redirect subterranean water.
-
Managing Vegetation: Keep grass neatly edged and aggressively remove weeds. Roots from nearby trees or aggressive shrubs naturally seek the moisture trapped beneath the pavement. Left unchecked, roots will physically lift and shatter the surface—a frustrating and expensive issue that many driveway paving companies cite as a leading cause of premature edge crumbling and structural failure.
Optimize Commercial Lots for Traffic and Safety

While residential properties focus primarily on preservation and aesthetics, commercial spaces carry a much heavier burden. They must handle a higher volume of traffic, accommodate immense static and dynamic vehicle loads, and, most importantly, adhere to strict safety standards and legal liabilities. Commercial lot maintenance is an entirely different operational scale.
Refresh Visual Guides Annually to Reduce Accidents
A commercial parking lot is a highly orchestrated system of traffic flow. When the visual guides degrade, chaos ensues. Faded lines lead to poor parking etiquette, decreased lot capacity, blocked fire lanes, and a significantly higher risk of vehicle collisions and pedestrian injuries.
-
The Psychology of Traffic Control: Bright, crisp lines provide subconscious instruction to drivers. They delineate right-of-way, highlight mandatory stop zones, and clearly mark pedestrian crosswalks. Maintaining these guides is crucial for keeping order during peak business hours.
-
ADA Compliance: Faded handicap spaces are not just an inconvenience; they are a violation of the Americans with Disabilities Act (ADA). Ensuring that accessible aisles, ramps, and designated spots are vividly marked with correct stenciling is a legal necessity for commercial property owners.
-
Risk Management: Do not view line painting as a mere cosmetic upgrade. Consider the immense financial and legal ROI of applying fresh parking lot line stripes, noting how it instantly boosts curb appeal while drastically reducing the property owner’s legal liability in the event of an on-site accident. A well-marked lot demonstrates a documented commitment to patron safety.
Reinforce High-Traffic Zones and Dumpster Pads
Standard paving materials, especially standard asphalt mixes, are engineered for moving traffic. They are not designed to support massive, concentrated, static weight, nor are they built to withstand the unique mechanical abuse of commercial utility vehicles.
-
The Threat of Static Loads: A standard delivery truck or a loaded garbage truck exerts immense pressure per square inch (PSI). When these vehicles park in the same spot daily—especially on hot summer days when asphalt is softest—their tires will press deep into the surface, causing severe rutting and pushing the sub-base outwards.
-
The Dumpster Pad Dilemma: The area surrounding commercial waste receptacles takes the most abuse of any pavement. Not only do heavy garbage trucks constantly roll over it, but the heavy steel dumpsters themselves are frequently dropped onto the surface, gouging the materials. Furthermore, biological and chemical leaks from the trash actively eat away at asphalt binders.
-
Strategic Upgrades: To prevent continuous repair cycles in these specific zones, it is highly recommended to excavate the standard pavement and install heavily reinforced, high-PSI concrete pads. These rigid slabs distribute heavy loads evenly and resist chemical spills. This is a heavy-duty structural upgrade typically handled by commercial concrete companies to prevent deep rutting, mechanical gouging, and catastrophic surface failure in your property’s most abused areas.
Conclusion
Protecting your paved surfaces requires diligence, an understanding of elemental forces, and a willingness to invest small amounts of time and capital today to prevent massive structural emergencies tomorrow. The blueprint for longevity is clear: act like an inspector on your own property, prioritize drainage and water management above all else, address hairline cracks before the winter freeze, and protect your surfaces from chemical and UV degradation through proper sealing techniques.
The financial wisdom of this approach cannot be overstated. Waiting until a surface is crumbling to begin maintenance is akin to waiting for a car’s engine to seize before checking the oil. By the time the damage is glaringly obvious, the opportunity for low-cost preservation has already passed. Committing to a consistent upkeep schedule guarantees that your pavement remains safe, functional, and visually appealing for decades.
Do not wait for the next major storm or the dead of winter to test the integrity of your property. Take an hour this weekend to walk your exterior spaces with a critical eye. Measure the cracks, assess the drainage, take detailed notes, and build a proactive maintenance calendar for the upcoming year. By taking command of your pavement’s health today, you secure the structural foundation of your property for the future.