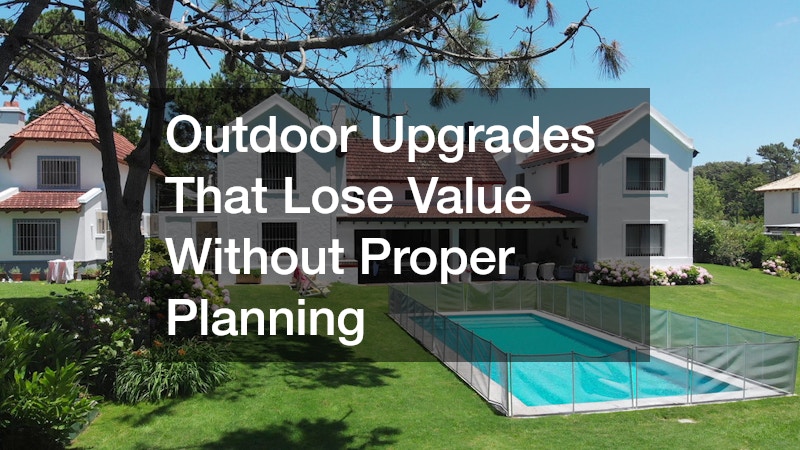

Outdoor improvements can transform a property — or quietly drain money from it. The gap between those two outcomes almost always comes down to planning decisions made before a single tool is picked up. Homeowners often focus on the finished look of a deck, patio, or landscaped yard without accounting for drainage, permits, material durability, or how a feature will hold up through four seasons.
The result is an upgrade that looks great on day one and deteriorates — or worse, fails inspection — within a few years. Understanding where planning failures tend to occur is the first step toward avoiding them.
Structural Outdoor Features That Age Poorly Without a Foundation Strategy
Decks and patios represent some of the largest outdoor investments homeowners make, yet structural failures in these features are far more common than most people expect. The problem usually isn’t the materials chosen — it’s what happens underneath them. Inadequate footings, improper joist spacing, or the wrong ledger attachment can lead to gradual settlement, rot, and eventual collapse risk. Most jurisdictions require permits for decks above a certain height or square footage precisely because structural integrity isn’t something that can be eyeballed after the fact.
The choice of materials matters here, but not in the way marketing tends to frame it. Composite decking, for instance, is heavily marketed for low maintenance — and it does resist rot better than untreated wood — but it expands and contracts more dramatically with temperature changes. Without proper gapping between boards, composite decking can buckle in summer heat, which is a costly fix that a contractor who understood the material would have prevented at installation.
For any deck or patio project:
- Pull the local permit before breaking ground, and specifically ask the building department whether footings need to extend below the frost line for your climate zone — in colder regions, that’s often 36 to 48 inches.
- Use pressure-treated lumber rated for ground contact (labeled UC4B or UC4C) for any framing that sits within 6 inches of soil.
- Inspect ledger board connections annually — water infiltration at the house attachment point is the leading cause of deck structural failure, according to the North American Deck and Railing Association.
Shade Structures and Pergolas — When the Upgrade Becomes a Liability
Shade structures are among the fastest-growing outdoor additions, driven partly by the shift toward outdoor living during and after the pandemic. The planning failures here are often more subtle than with decks. Many homeowners add a pergola or shade sail without verifying HOA rules, wind load requirements, or whether the structure needs to be anchored into a concrete footing rather than attached directly to existing pavers.
Material choice is where long-term value is genuinely made or lost. Wood pergolas are beautiful but require annual sealing or staining and are vulnerable to insect damage if not properly treated. Aluminum pergolas, by contrast, resist corrosion and require almost no seasonal maintenance, but they carry a higher upfront cost and need to be sized and anchored correctly to handle lateral wind loads — something a lightweight installation on loose pavers simply cannot do safely.
The clearest planning mistake is treating these structures as furniture rather than architecture. If a pergola is attached to the house — even loosely — it almost certainly requires a permit in most U.S. municipalities. An unpermitted attached structure can trigger complications at the point of sale, including demands to remove or retroactively permit the addition, sometimes at costs exceeding the original build.
Before committing to any shade structure:
- Verify with your local building department whether the structure qualifies as a permanent fixture — the typical threshold is anything attached to the home or exceeding 200 square feet of coverage.
- Get a copy of wind load requirements for your region; ASCE 7 standards govern minimum design loads, and structures in coastal or high-wind zones require significantly more robust anchoring.
Landscaping and Water Features — The Drainage Problem Nobody Plans For
Water features — ponds, fountains, irrigation systems — generate some of the highest rates of regret among homeowners, largely because their long-term costs are invisible at the planning stage. A decorative pond installed without a proper liner and circulation system becomes a mosquito habitat and maintenance burden within one season. An irrigation system installed without a backflow preventer is often illegal under local plumbing codes and can contaminate the household water supply.
Landscaping more broadly suffers from a different planning failure: grading. Flat or poorly graded yards that slope toward the foundation redirect rainfall into the basement. The EPA’s guidance on stormwater management consistently points to improper grading around residential foundations as a leading cause of preventable water damage. Regrading a yard after the fact, once planting beds and hardscaping are in place, can cost $2,000 to $6,000 or more depending on the scope.
The DIY-versus-professional decision is especially important here. Smaller landscaping tasks — mulching, planting, basic edging — are genuinely suitable for DIY. But grading changes, retaining walls over 2 feet in height, and anything involving drainage pipe routing should involve a landscape contractor or civil engineer. Retaining walls in particular carry significant liability: a wall failure can damage neighboring property, and in most states, walls above a certain height require engineered drawings.
- Before finalizing any water feature placement, dig a 12-inch test hole and check drainage rate — soil that retains standing water after 4 hours will require additional drainage infrastructure regardless of what liner system is used.
- Install a rain sensor or soil moisture sensor with any new irrigation system to avoid water waste and potential overwatering damage to plant roots.
Outdoor Kitchens and Fire Features — The Permit and Safety Overlap
Outdoor kitchens and fire pits are consistently popular, and they’re also consistently under-planned. Gas line extensions for outdoor grills or built-in burners require licensed plumbing or gas contractors in virtually every U.S. state — and yet many are installed by homeowners or unlicensed workers who underestimate the risk. An improperly installed gas line that fails during a backyard gathering doesn’t just void homeowner’s insurance; it creates serious personal liability.
Fire pits present a different risk profile. Wood-burning fire pits are regulated by local fire codes, HOA rules, and sometimes air quality management districts. In counties under seasonal burn bans — which are increasingly common across drought-affected regions — a permanent wood-burning feature may be unusable for months each year. A propane or natural gas fire feature avoids burn ban restrictions and produces significantly less particulate matter, making it a better long-term investment in fire-regulated areas.
For built-in outdoor kitchens specifically, concrete board backer and non-combustible framing are non-negotiable behind any surface that faces a heat source. Foam-based stucco or untreated wood framing behind outdoor kitchen facades has caused house fires — a failure mode that no aesthetic planning accounts for.
- Require written documentation of permits and gas line pressure testing before accepting any outdoor kitchen installation from a contractor.
- Position any propane tank or gas shutoff valve at least 10 feet from the primary cooking area, per NFPA 58 guidelines on liquefied petroleum gas storage near structures.
- Check local air quality district rules before committing to a wood-burning fire feature — some districts restrict open burning within city limits year-round.
Planning Sequence Decides Whether the Investment Pays Off
The order in which outdoor planning decisions get made matters as much as the decisions themselves. Aesthetics — materials, colors, layout — tend to get chosen first because they’re enjoyable to think about. But code compliance, drainage, and structural engineering need to come before any of that, or the aesthetic choices end up constraining the structural ones in expensive ways. A homeowner who selects a pergola design, orders materials, and then discovers the HOA prohibits that height or style faces a loss with no clean resolution. Starting with constraints — zoning, permits, soil conditions, drainage grades — and working outward toward design protects the investment from the beginning.